
 |
 |
|
| Pro Air 20 | Pro Air 60 | |
| Model Number | 61009 | 61008 |
| Max Air Flow Rate (Loaded) | 0.71 CFM | 2.1 CFM |
| Max Air Depth (Loaded) | 2.90 psi | 5.08 psi |
| Number of Outlets | 1 | 2 (Includes 2-Way Manifold) |
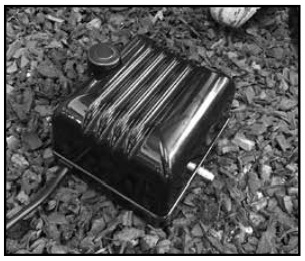
| Wattage | 15 | 45 |
| Power Cord Length | 6 feet | 6 feet |
| Dimensions | 6" x 5.5" x 4.25" | 7.75" x 7.25" x 4" |
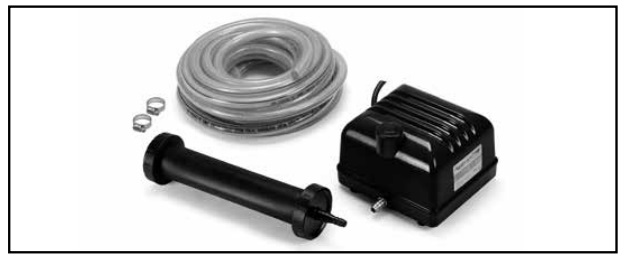
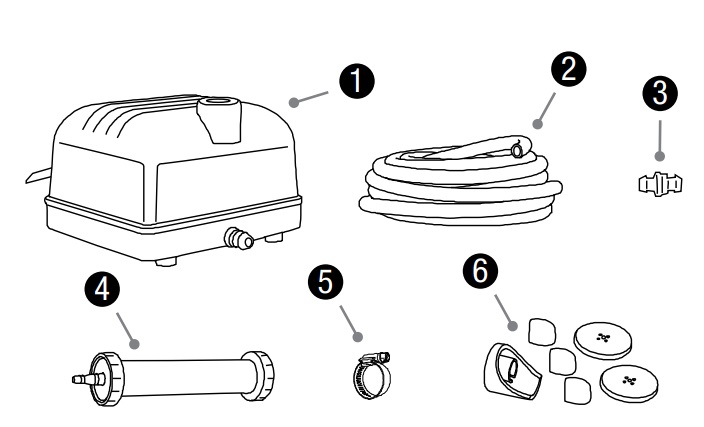
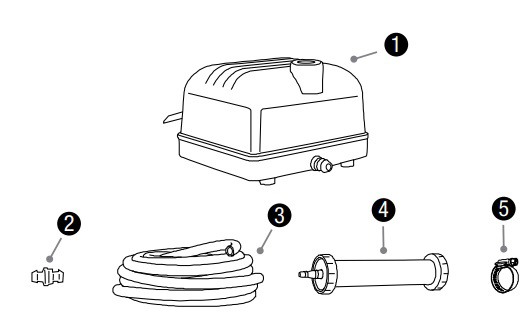
| Aeration Diffuser | 10 in. Rubber Membrane Aeration Diffuser | (2) 10 in. Rubber Membrane Aeration Diffuser |
| Length of Airline | (1) 30 ft. Roll 3/8 in. Braided Vinyl | (2) 30 ft. Roll 3/8 in. Braided Vinyl |
| Check Valve | Included and Pre-installed | Included and Pre-installed |
| Pond Size | Up to 5,000 gal | Up to 15,000 gal |
| Max Recommended Pond Depth | 6.5 ft. | 11.5 ft. |
| Warranty (Limited) | 3 Year Limited | 3 years |
| View Product | View Product |