A well-built pond – one with a skimmer, biological filtration and plenty of plants – will develop an ecosystem that more or less cleans itself.
Sometimes, though, manmade ponds need help flushing out excess muck and debris. That’s where a pond clean-out comes in.
Cleaning a backyard pond takes a little time and elbow grease, but, with the right tools, you can knock out the clean-out in a few hours and get back to enjoying your crystal-clear water and happy, healthy fish.
(Don’t want to clean your pond yourself? Click here to have us do the dirty work for you.)
In This Guide: How to Clean a Pond
- Why Should I Clean My Pond?
- How Often Should I Clean My Pond?
- Pond Clean-Out Checklist
- Step 1: Set Up a Temporary Fish Tank
- Step 2: Fill the Tank and Move the Fish
- Step 3: Clean the Stream and First Shelf
- Step 4: Empty, Clean, Repeat
- Step 5: Spruce Up Pond Equipment and Plants
- Step 6: Refill the Pond
- Step 7: Enjoy Your Clean Pond
Why Should I Clean My Pond?
Let’s talk a little about pond design and how it plays into your pond clean-out plan.
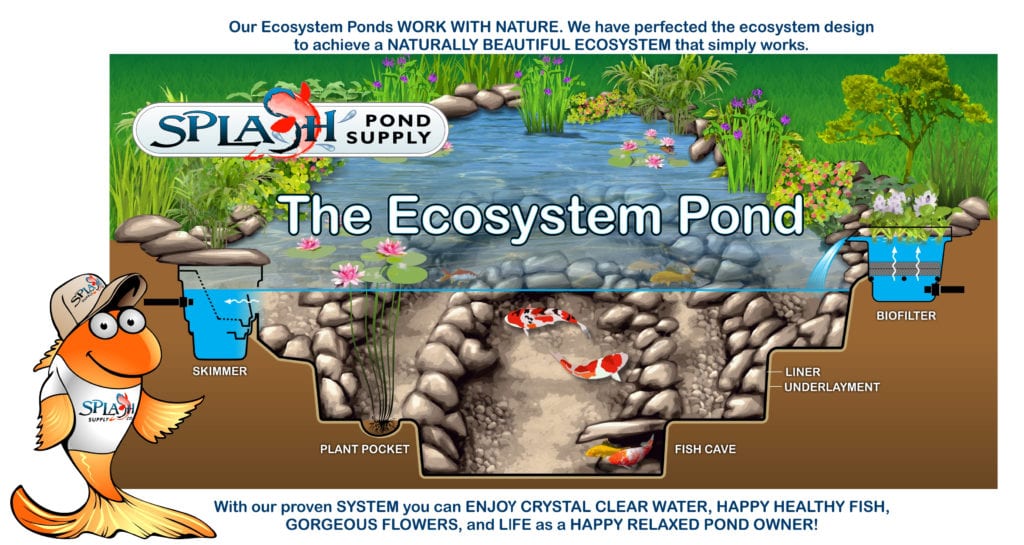
A backyard pond should have three features that keep cleaning needs to a minimum: a skimmer, a biofilter and plants.
The skimmer removes most large debris – i.e. dead leaves – from the water’s surface before it has a chance to sink to the bottom and decay.
The biofilter is a place with lots of nooks and crannies where beneficial bacteria grow. These bacteria eat excess nitrites that would otherwise feed green-water-causing algae.
Plants remove another kind of nutrient from the pond: nitrates. Without plants, nitrates will flourish and feed string algae.
With these features in place (plus an appropriate number of fish and a few other design tricks), you will create a largely self-sustaining ecosystem, similar to the ones that keep ponds beautiful in nature.
So why do backyard ponds need periodic clean-outs?
In nature, spring rains fill streams and rivers, which, in turn, flush out the lakes and ponds.
Manmade ponds, however, are closed ecosystems. When you get in there and clean out the pond, you’re recreating those processes that happen in nature.
The goal of a clean-out is not to scrub every speck of algae from every rock, but rather to remove built-up muck and debris.
How Often Should I Clean My Pond?
We recommend cleaning your pond every one to three years. Whether you’re an annual cleaner or a once-every-three-years type of person depends on how much debris you let into your pond.
If you have all the right filtration and a reasonable number of fish – and you meticulously empty your skimmer and use sludge cleaner to break up sunken pond gunk – you can probably get away with only doing a clean-out every three years.
Most people, however, can benefit from cleaning their pond once a year.
This cleaning should happen in early spring if possible.
At this time of year, the beneficial bacteria colonies that keep your water clear are still waking up from winter dormancy. If you wait until mid-summer to clean the pond, you’ll wipe out all these helpful microorganisms, causing the water to go through a green phase as the bacteria re-establish themselves.
Cleaning your pond in early spring also gives you a chance to clean up winter debris, spruce up plants and replace broken bulbs and other equipment before the start of the outdoor season.
Pond Clean-Out Checklist
Here are the supplies you’ll need to clean out your pond:
- A clean-out pump (if you don’t want to use your regular pond pump)
- Discharge hose or pipe
- Garden hose
- Garden shears
- A large container to safely hold fish
- A net or something similar to place over the fish container to keep them from jumping out
- An aerator
- Large buckets or similar containers for collecting leaves and other large debris
- A net for catching and moving fish
- Pond Detoxifier
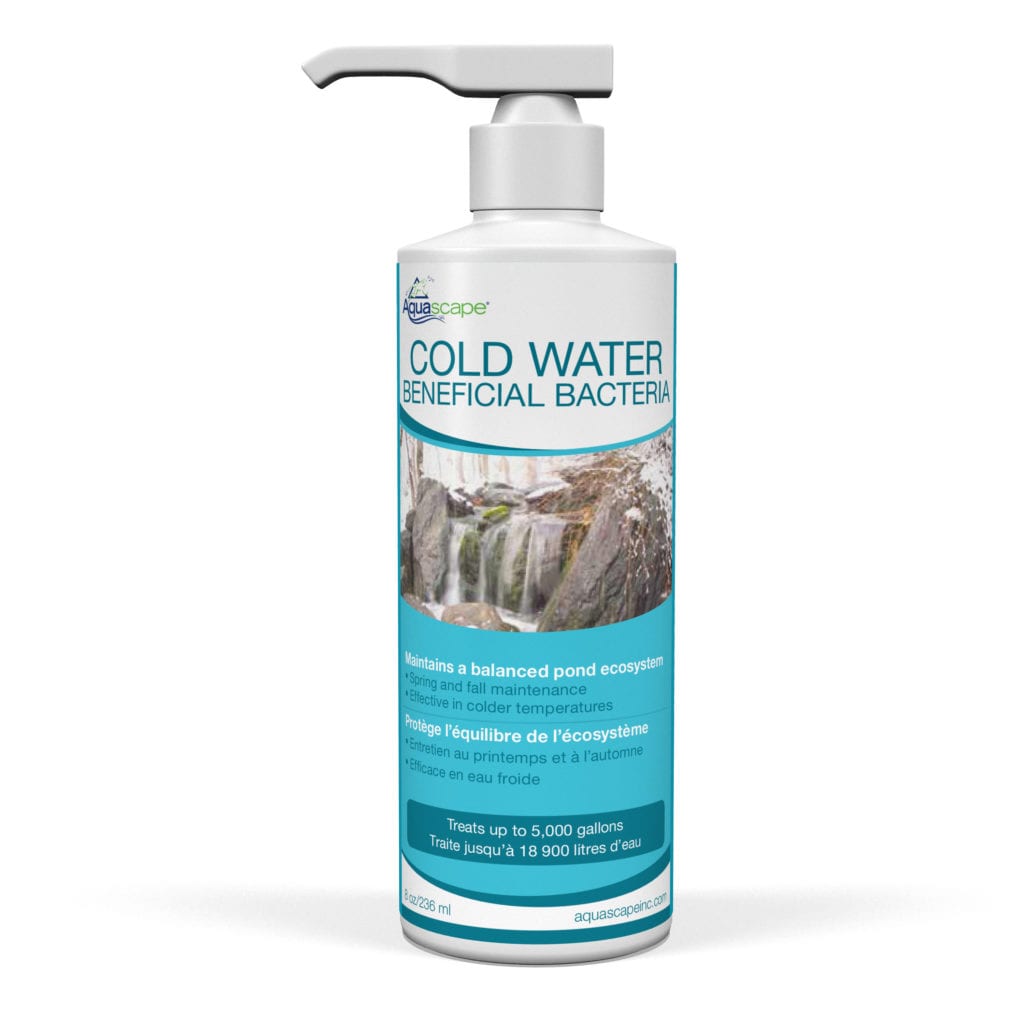
- Cold Water Beneficial Bacteria
- Waterproof gloves
- Waterlily fertilizer
- Replacement lights and any other equipment needed for making repairs
STEP 1
Set Up a Temporary Fish Tank
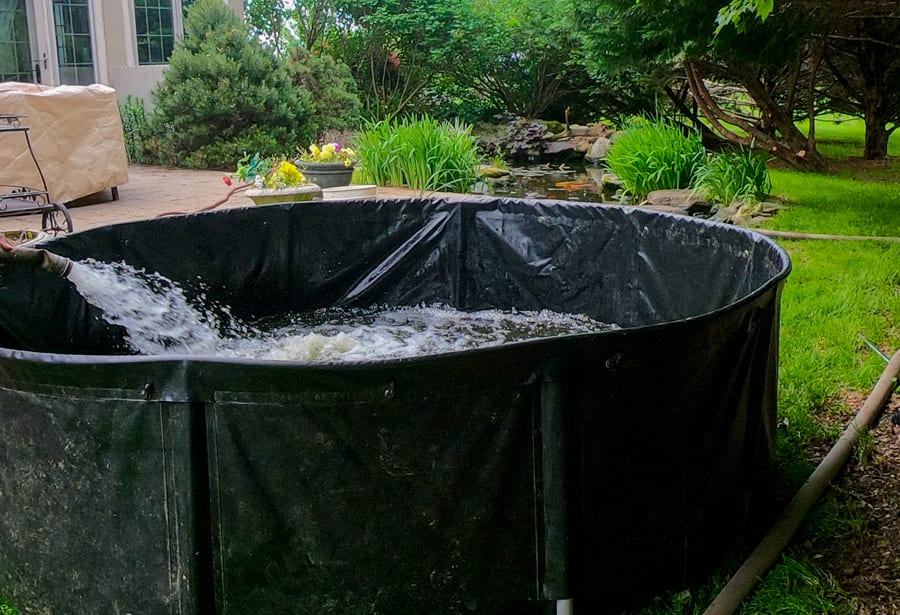
Set up a large container where your fish can comfortably hang out while you make their home nice.
This tank needs to be big enough to hold all your fish and deep enough to maintain a more-or-less consistent temperature. A large plastic storage container, empty swimming pool or pop-up koi tank (you can find them online) will usually do the job.
You’ll also need an aerator – so the fish can breathe – and a net to cover the top of the tank – so the fish don’t jump out. Keep the tank out of direct sunlight, and don’t keep your fish there for more than a few hours.
STEP 2
Fill the Tank and Move the Fish
Use a pump and discharge hose to move about 50 to 70 percent of your pond’s water into the temporary tank.
You can either buy a clean-out pump and discharge hose or use your existing pond pump.
A clean-out pump will let you remove more water – usually down to the last half-inch – while your existing pond pump will usually leave you with 2 to 3 inches of water in the bottom of the pond.
Next, use a net to catch your fish and gently move them to their temporary hangout.
STEP 3
Clean the Stream and First Shelf
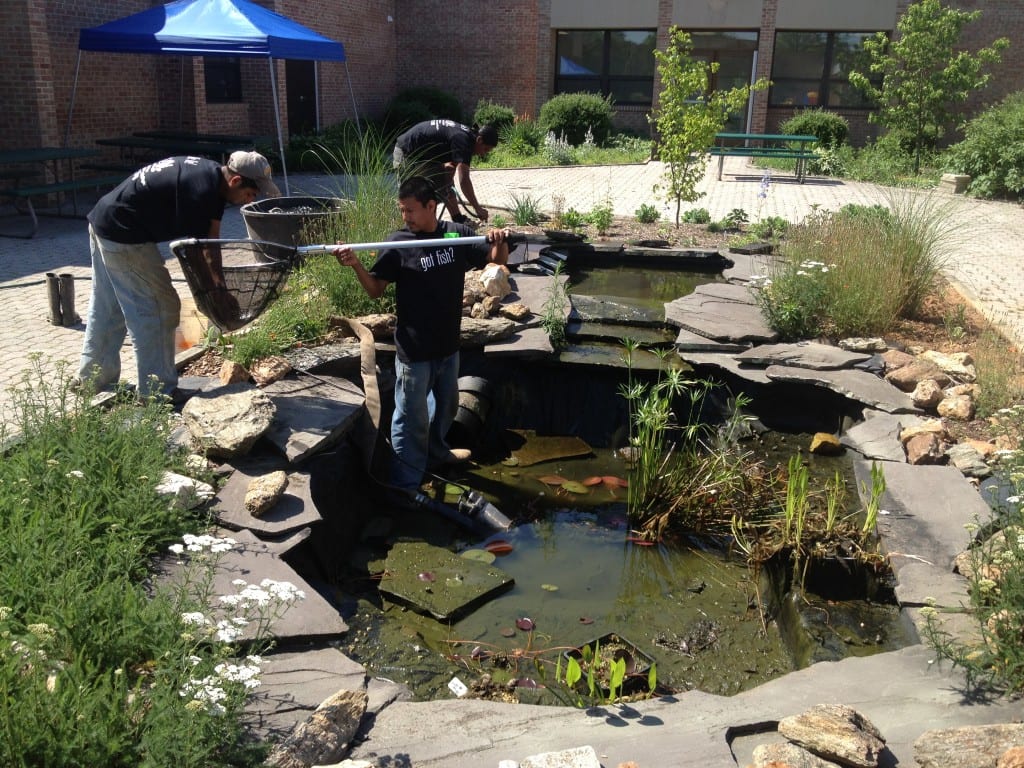
Now it’s time to start cleaning.
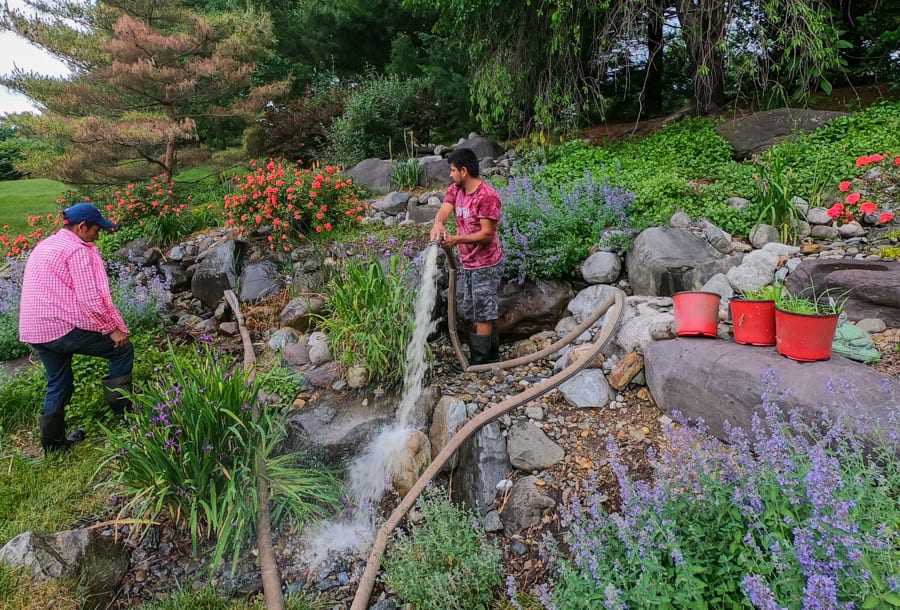
Use the pump and discharge hose to spray some of the remaining water from the pond over the stream, plant shelves and any other exposed areas. (This water will flow back into the pond, making it look pretty nasty for the moment, but we’ll take care of that later.)
Your goal here is not to pressure wash every surface but rather to loosen all the muck stuck behind and between the pond rock and gravel.
Why use the water from the pond instead of from a garden hose or pressure washer?
For one, a discharge hose will provide the best mix of volume and power. A garden hose will usually be too weak to dislodge all the debris, while a pressure washer has way too much power and will wipe out all the microorganisms that keep your water clear. Most discharge hoses will give you just the right amount of power to dislodge all the muck (we usually use hoses with a diameter between 1.5 and 3 inches).
Second, using water from the pond helps maintain even more of that little ecosystem we talked about earlier. You’re already wiping out a lot of those helpful bacteria during the clean-out, so the more you can save, the better.
STEP 4
Empty, Clean, Repeat
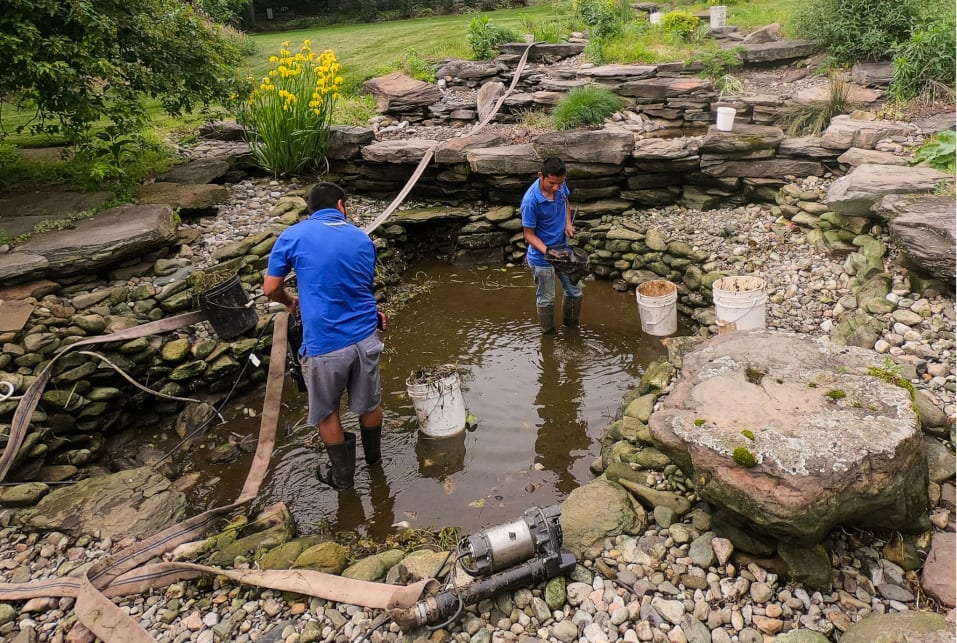
Now it’s time to get rid of that mucky pond water and clean the rest of the pond.
Simply discharge some of the water into the surrounding landscape as you work your way toward the bottom of the pond. This water is high in nutrients that grass and other plants love.
After you drain some water, do another pass with the hose over the newly exposed rock and gravel, then drain out some more water. Repeat until you reach the bottom. You might want to break out the regular garden hose for final touches.
Remember: Don’t worry about removing the “biofilm” and other stuff on the surface of the rocks and plant pots. Focus on big debris like dead leaves and built-up sludge. In doing so, don’t feel obligated to pick up every single rock to get behind it. The pressure from the hose should do enough.
A once-a-year clean-out also offers an opportunity to clean the skimmer and biofilter. Just use the hose or pond water to spray down the filter mats, bioballs and any other media.
Once the biofilter is clean, don’t touch it again until next season. You should only clean your biofilter once a year so the beneficial bacteria inside have a chance to grow.
STEP 5
Spruce Up Pond Equipment and Plants
With everything drained, now’s your chance to replace broken lights, upgrade skimmers, install fish caves or do whatever other maintenance your pond needs to start the season right.
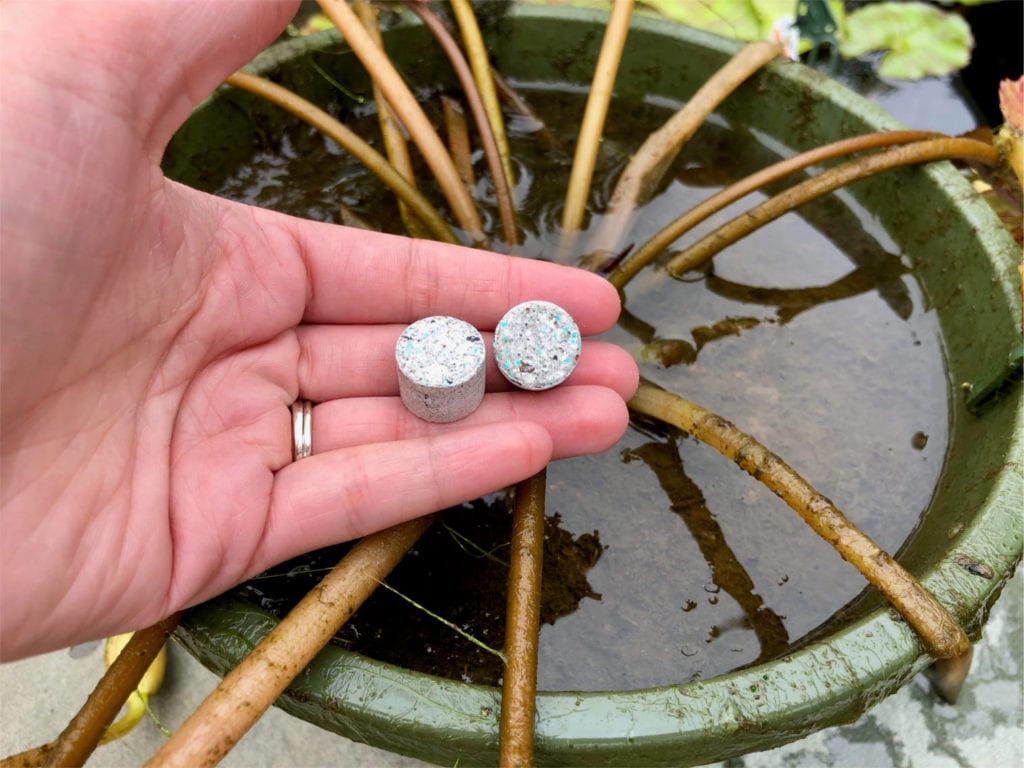
You can also use this opportunity to prune or divide unruly plants and fertilize waterlilies and lotus. (Don’t worry about fertilizing marginal plants; they’ll receive plenty of nutrients from the pond water).
STEP 6
Refill the Pond
Use the pump and discharge hose to move water from the temporary fish tank back into your pond.
Gently move the fish back into the pond once the water is deep enough to do so. Keeping them in this water makes their transition less stressful than throwing them in a pond with completely new water.
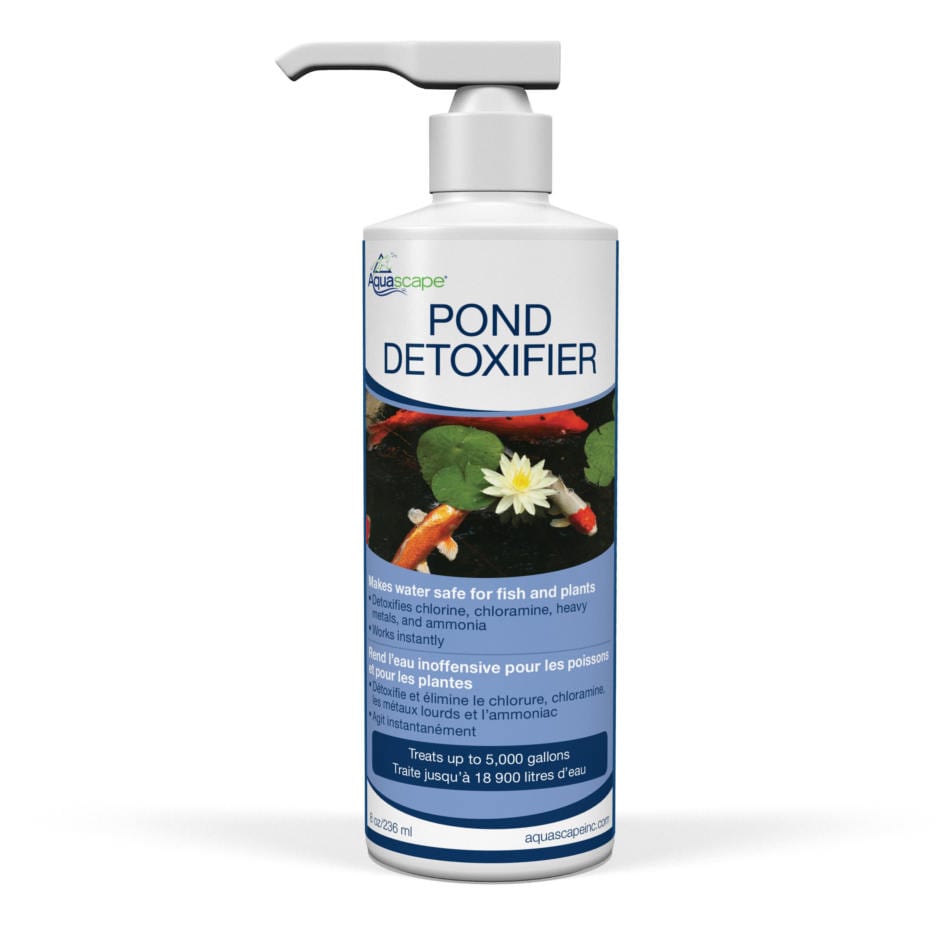
Next, use your garden hose to refill the rest of the pond. If you use a municipal water source – or you just want to be extra safe – you must add Pond Detoxifier to the pond as it fills up.
Do not skip this step. Municipalities treat their water with levels of chlorine and chloramines that are usually unnoticeable to humans but extremely dangerous for pond fish. These levels occasionally spike if the water company is performing maintenance.
To be safe, use double the dosage of Pond Detoxifer recommended on the bottle.
STEP 7
Enjoy Your Clean Pond!
You did it!
Now you have a clean pond that will bring you enjoyment all season long.
Don’t panic if your pond water looks brown or green in the days following the clean-out. Some discoloration is normal as debris settles and beneficial bacteria colonies re-establish themselves. These issues will usually clear up on their own.
To keep you water clear, treat it at least once a week throughout the season with beneficial bacteria. This product is completely safe for fish, so feel free to use a higher dosage than is recommended on the bottle if you feel you need it. If the weather is still cool, use Cold Water Bacteria until the water warms up for the season.
If you did your clean-out in the spring, don’t start feeding your fish again until the water temperature is consistently above 55 degrees. At that point, you can ease them into the season with Probiotic Fish Food.